Getting Started with WordQuest: A 5-Minute Setup Guide
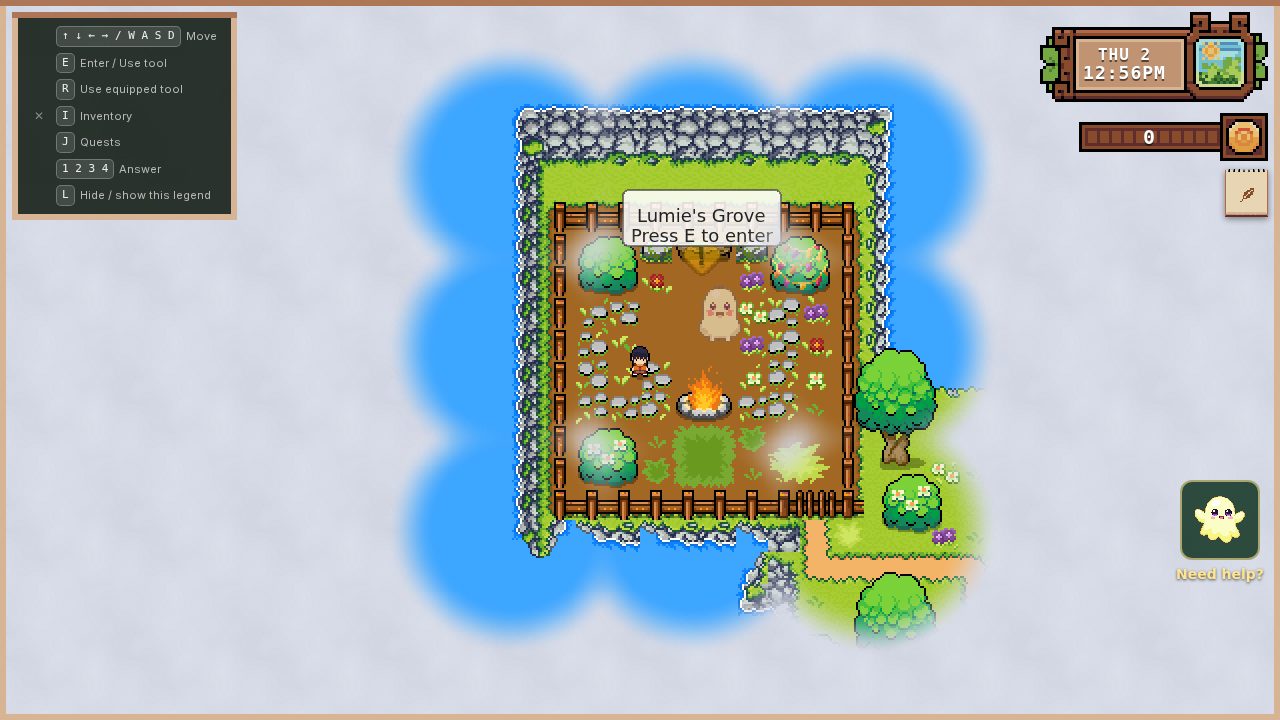
Getting your child set up with WordQuest takes about five minutes, and you only need to do most of it once. After that, your child can launch straight into the game from the dashboard. Here's the walkthrough.
Step 1: Create Your Parent Account
Head to playeduquest.app/register and create an account. This is your parent account — it's where you'll manage child profiles, view progress, and adjust settings. You'll need an email address and a password.
If you've already got an account from using other EduQuest features, you're good to go. Sign in and head to the Dashboard.
Step 2: Create a Child Profile
From the Dashboard, go to Children in the navigation. Tap Add Child to create a new profile.
You'll enter a few things:
Name. Your child's first name. This appears in-game and on the progress dashboard. Just a first name is fine.
Mode. This is the most important setting. There are two options:
-
Explorer: Letter recognition and phonics. Challenges show a single letter with a few options to choose between — and the choices grow as your child gets more confident. Designed for children who are learning letter shapes and sounds.
-
Reader: Sight words and CVC words (cat, dog, sun). Challenges show a whole word with a few options, getting a little harder as your child progresses. Designed for children who know their letters and are building word recognition.
Not sure which to pick? Start with Explorer if your child is still learning letters, Reader if they can already name most of the alphabet. You can change this later in settings — and our settings guide walks through every option once you're ready to fine-tune.
Avatar. Your child picks a character avatar from the available options. This is their hero in the game. Kids love this part — let them choose.
That's it for the basic setup. The profile is created and ready to play.
Step 3: Set Up Child Login (Optional)
If your child uses the app independently — on a shared family tablet, for example — you can set up a child-friendly login. This uses a simple PIN code so your child can access their profile without needing your email and password.
From the child's profile card, tap the settings gear icon and look for the login options. You can generate a QR code or a direct link that takes your child straight to their profile. This is especially handy if you have multiple children sharing one device.
Step 4: Launch the Game
From the Dashboard, navigate to Games and select WordQuest. If you have multiple children, you'll see a profile picker — tap on the child who's playing. If you only have one child profile, the game launches directly.
The game opens with an overworld map showing available levels. The first level in the Misty Isle is already unlocked and ready to play. Your child taps on it to enter.
What Happens Next
Inside the level, your child's hero character appears in a small corner of the Misty Isle. They'll walk around using touch controls (on mobile) or arrow keys (on desktop). The world is filled with obstacles — blocking trees, treasure chests, bridges — and each one presents a reading challenge. Here's a deeper look at how the game itself works if you want the full picture before they start.
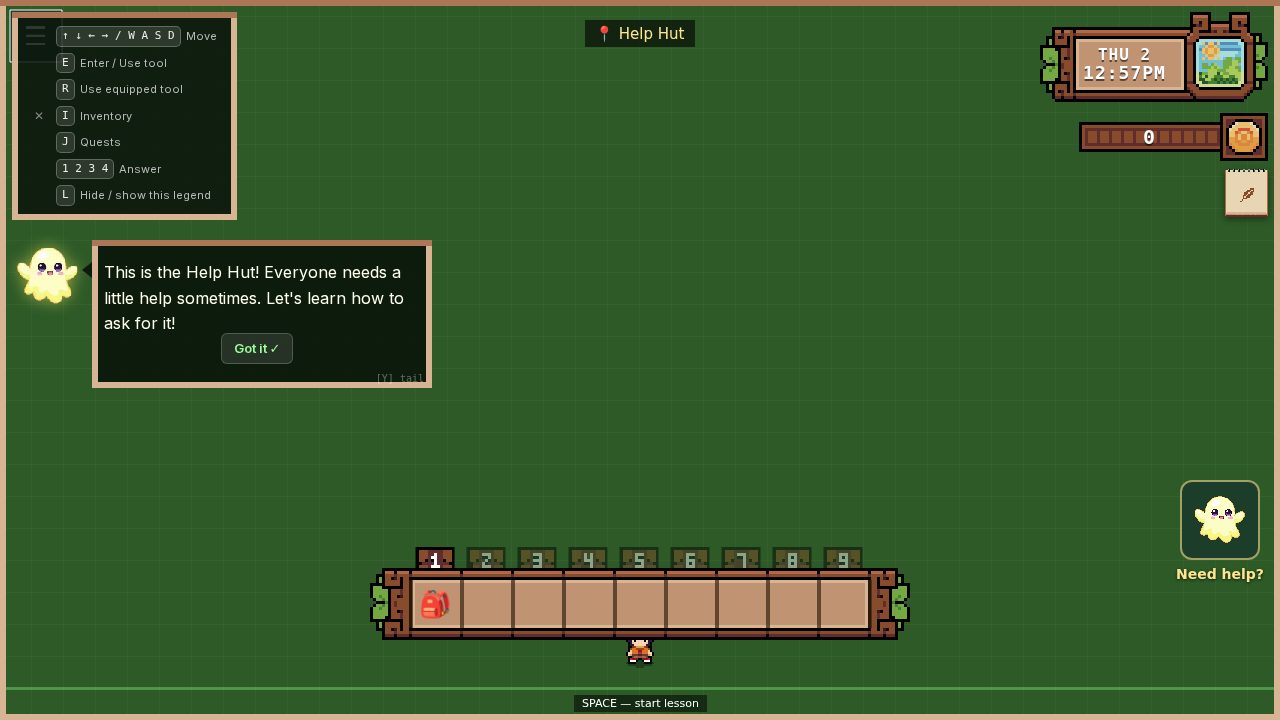 Inside a WordQuest location — your hero, the item bar along the bottom, and Lumie the friendly guide.
For Explorer mode, the challenge shows a letter with a few options. Tap the right letter and the obstacle opens. For Reader mode, the challenge shows a word with a few options. Tap the right word and the hero progresses.
Wrong answers get a gentle shake and an invitation to try again. No penalties, no lost lives, no timers. Every attempt is a learning moment.
When a level is complete, your child returns to the overworld map. The hero walks along the path to the next location, which unlocks automatically — and more of the Misty Isle is revealed as the mist clears.
Quick Reference
- Create parent account — playeduquest.app/register
- Add child profile — Dashboard > Children > Add Child
- Choose a mode (Explorer or Reader) — during profile creation, or Settings > Mode
- Launch the game — Dashboard > Games > WordQuest
- View progress — Dashboard > Progress
- Change settings — Children > gear icon on child card
One More Thing
For the first few sessions, we really recommend sitting with your child — and one session often isn't enough, so don't expect it all to click straight away. There's more going on in WordQuest than it first looks. Moving the hero around, spotting what can be interacted with, reading the challenge — that's a lot to take in at once, especially for younger children or kids who haven't played many games before. Lumie, the in-game helper, is there to nudge them along, but a parent beside them makes those early sessions far smoother.
And don't worry about helping — we don't mind it at all. We'd love for your child to tap the reading answers themselves, but if they're stuck on how to play (where to go, what to press), go ahead and show them. Even our own kids needed a hand finding their feet at the start. Once they've got the hang of how the game works, you can quietly step back and let the reading become theirs. A few minutes of shared play across those first sessions makes a huge difference in how your child feels about the game.
For more on making those early sessions great, check out our guide: Your Child's First WordQuest Session. And once they've played a few times, our ten tips for getting more out of WordQuest covers the small parent moves that turn casual play into actual learning.
WordQuest's Misty Isle is completely free — no credit card required. Set up takes five minutes and your child can be playing immediately. Make a parent account.