Getting Started: Create Your Account and Add a Child
Setting up EduQuest takes about two minutes. You create one parent account, add your child as a profile underneath it, and pick the mode that suits them. This guide walks through each step so you know exactly what to expect.
1. Create your parent account
Head to the sign-up page and register with your email and a password. This is your account — the grown-up account that owns everything. Your child never needs an email address; they live as a profile inside your account, which keeps their data minimal and private.
A few things worth knowing:
- We only ever ask for what we need. No phone number, no home address.
- Your password is yours alone — we check it against known-breached password lists at sign-up to keep your account safe.
- One account can hold more than one child, so siblings can each have their own profile and progress.
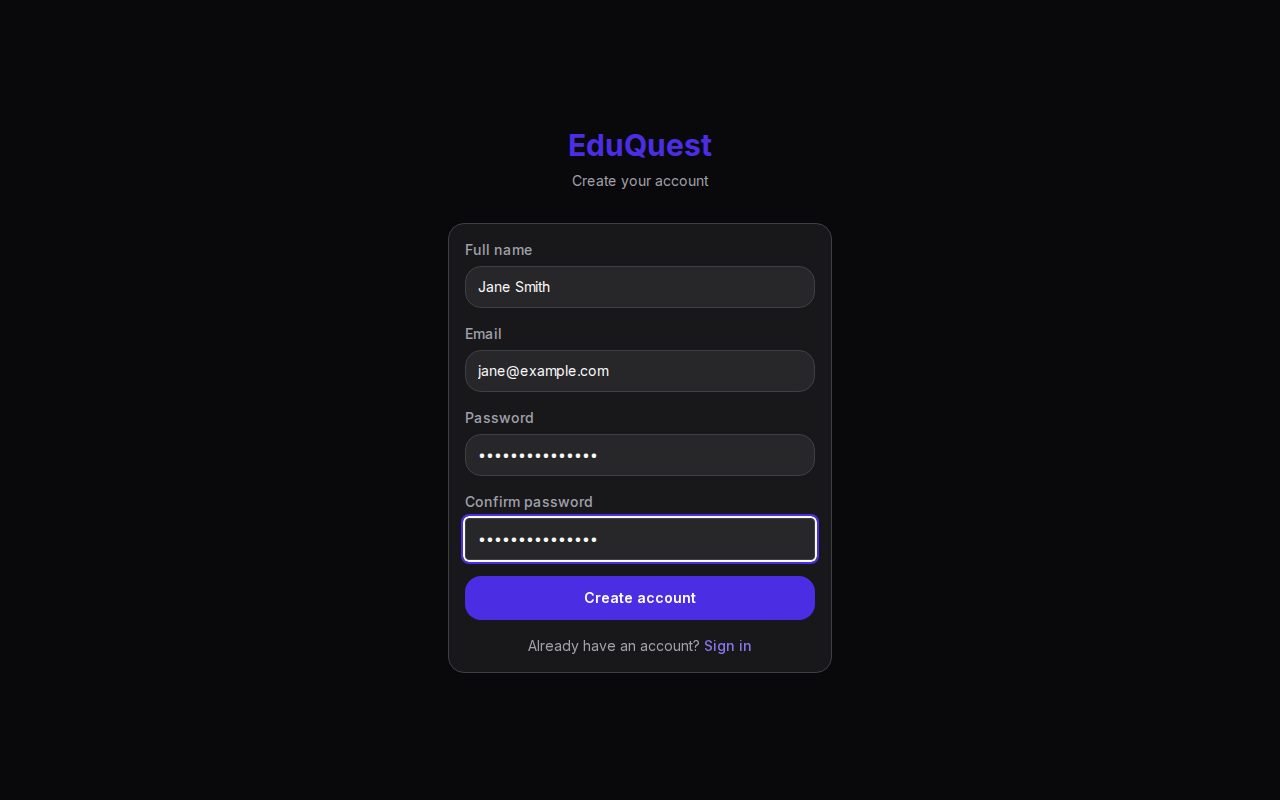 The sign-up form — a name, an email, and a password is all it takes.
2. Add your child
Once you're signed in, open the Children area and choose Add a child. There's very little to it:
- A first name or nickname (that's all we store)
- A starting mode — Explorer or Reader
- An avatar your child picks for their hero, plus an optional colour theme
No birthday, no surname, no email for your child. That's the lot.
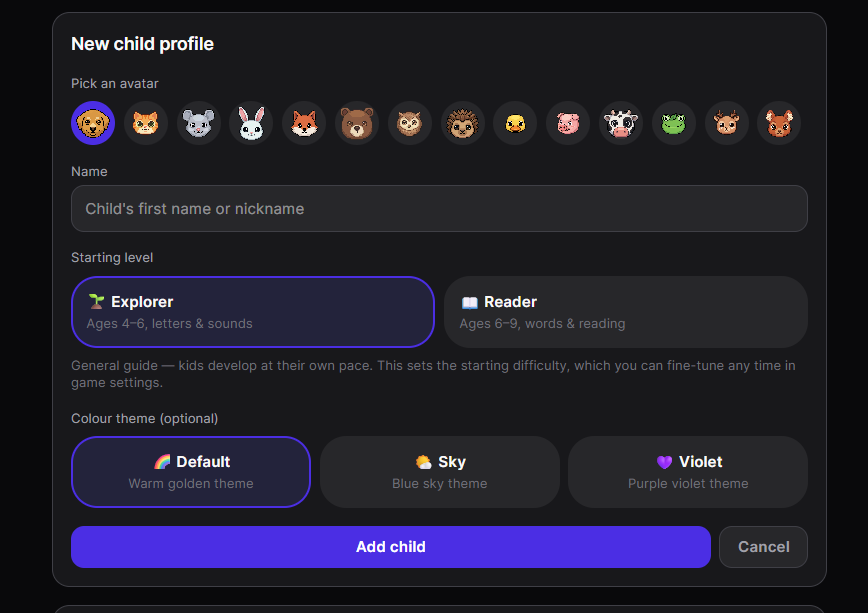 The New Child Profile form — pick an avatar, enter a first name or nickname, and choose a starting mode.
3. Choose Explorer or Reader
The mode decides what kind of challenges your child meets in the game:
- Explorer focuses on letters — recognising and naming them, one at a time.
- Reader moves on to whole words — sight words and simple words to sound out.
Not sure which to pick? Start with Explorer. You can switch modes anytime from the child's profile, so there's no wrong choice — the game grows with your child rather than locking them in.
4. (Optional) Give your child their own login
If your child plays on a shared family tablet, you can set up a simple PIN so they can reach their own profile without your email and password. From the child's profile, show a QR code or copy a direct link that takes them straight to their PIN screen — handy when siblings share a device. Skip this if your child always plays alongside you; you can add it anytime.
Your parent dashboard — where you see progress and manage profiles — stays behind your own account login, so the grown-up settings are always protected.
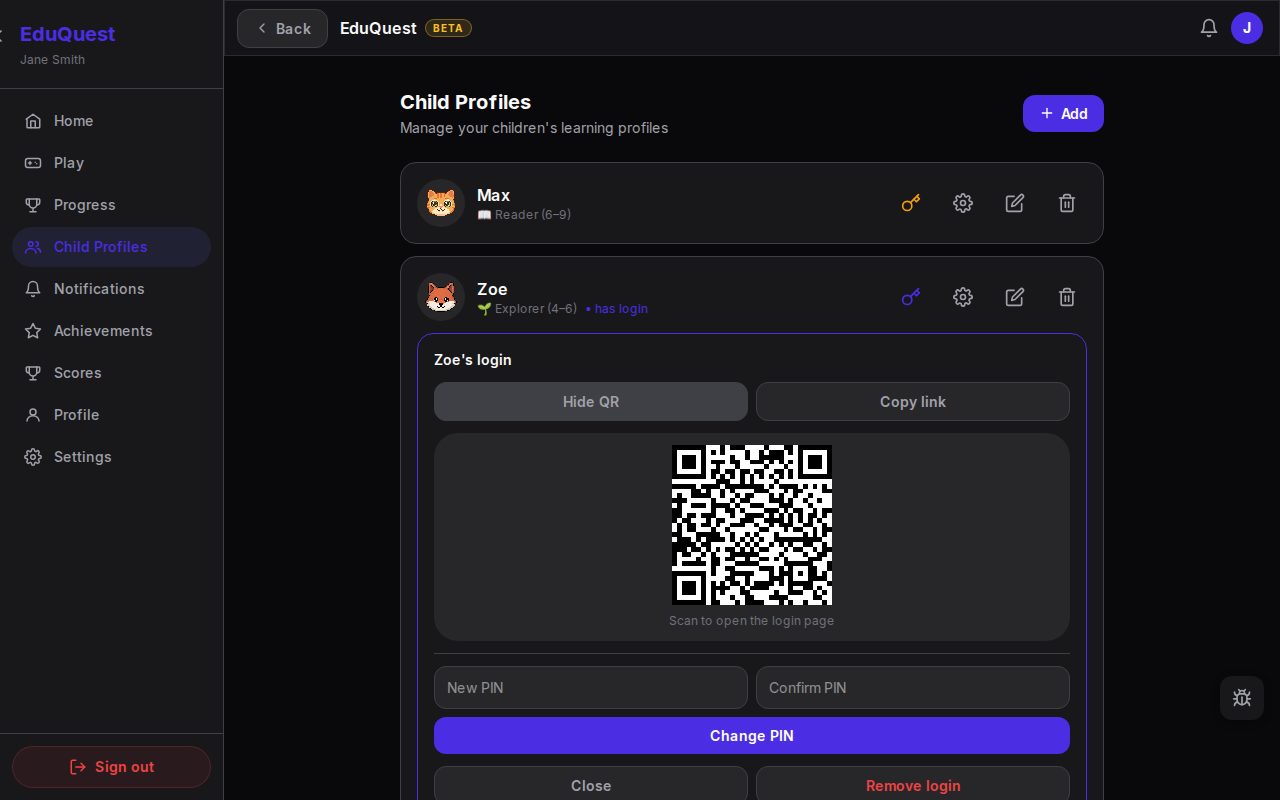 The child login panel — show a QR code, copy the direct link, or change the PIN.
And this is all your child sees when they open their link: their avatar, a hello, and a PIN box. They type their PIN, tap Play, and they're in.
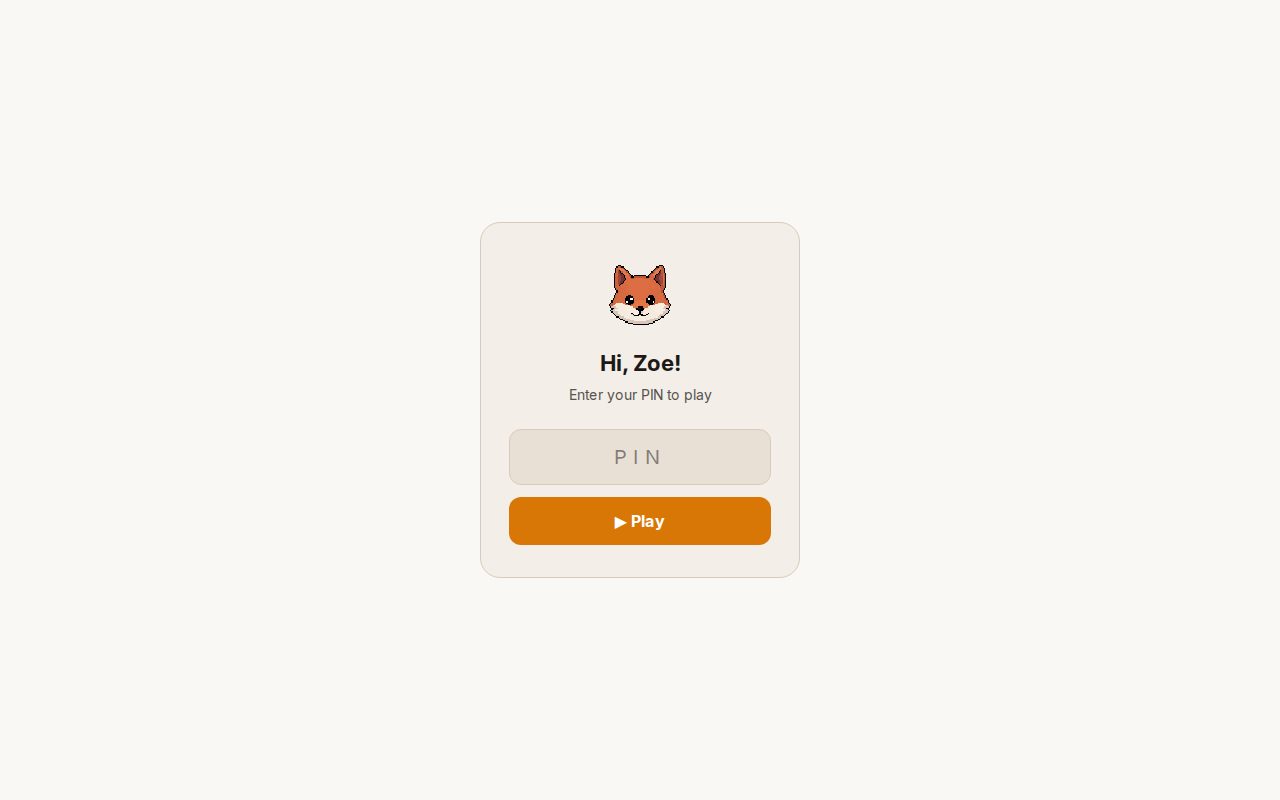 The child's login screen — PIN in, Play, done. No email, no password, no grown-up menus.
5. You're ready to play
That's the whole setup. From here your child can jump into the Misty Isle and start their first adventure. If you ever remove a profile by accident, don't worry — deleted profiles sit in a recycle bin for 30 days, so a mistimed tap never loses weeks of progress.
Next up: read How to Play WordQuest for a quick tour of the game itself.